Jira integration

Turn website feedback into Jira issues

Connect Jira Cloud and every new comment pinned in ClientTweak becomes an issue in the project you choose, with the page, the details and a link straight back to the pin.

  • Connect with OAuth
  • Pick the project
  • Disconnect any time

ClientTweak + Jira

The problem

Feedback that never makes it into Jira never gets done

  • Someone has to copy every comment into Jira by hand.
  • Issues arrive without the page or the context they came from.
  • Feedback sits in one tool while the work is planned in another.
  • Nobody can trace a fix back to the comment that asked for it.
Highlights

What the Jira integration does

Built for engineering and QA teams who plan in Jira but collect feedback from people who never will.

New issues from comments

Each new comment on a project creates a issue in the Jira project you choose.

Context included

The issue carries the comment text, author, priority, status, page URL and the project it came from.

Link back to the pin

Every issue includes a permalink that opens the comment in ClientTweak, with its screenshot and replies.

Resolutions and deletions

Resolving or deleting a comment in ClientTweak is sent to Jira as a new issue, so there's a record of it.

Automatic retries

If Jira is unavailable, ClientTweak retries the delivery automatically with increasing delays.

Secure connection

You connect through Atlassian's OAuth sign-in. Tokens are encrypted at rest and you can disconnect at any time.

Comments become issues automatically

Once Jira is connected, you don't have to copy feedback across. When a reviewer pins a new comment on a website, PDF or image in your workspace, ClientTweak creates a issue in the Jira project you picked.

The issue is titled with the project name and the first line of the comment, so it's easy to scan in a busy project. Replies stay in ClientTweak as part of the comment thread, so Jira gets one issue per piece of feedback rather than one for every message.

  • Titled “[Project] first line of the comment”
  • Comment text, author, priority and status in the description
  • The page URL and project URL included
  • A permalink back to the comment in ClientTweak
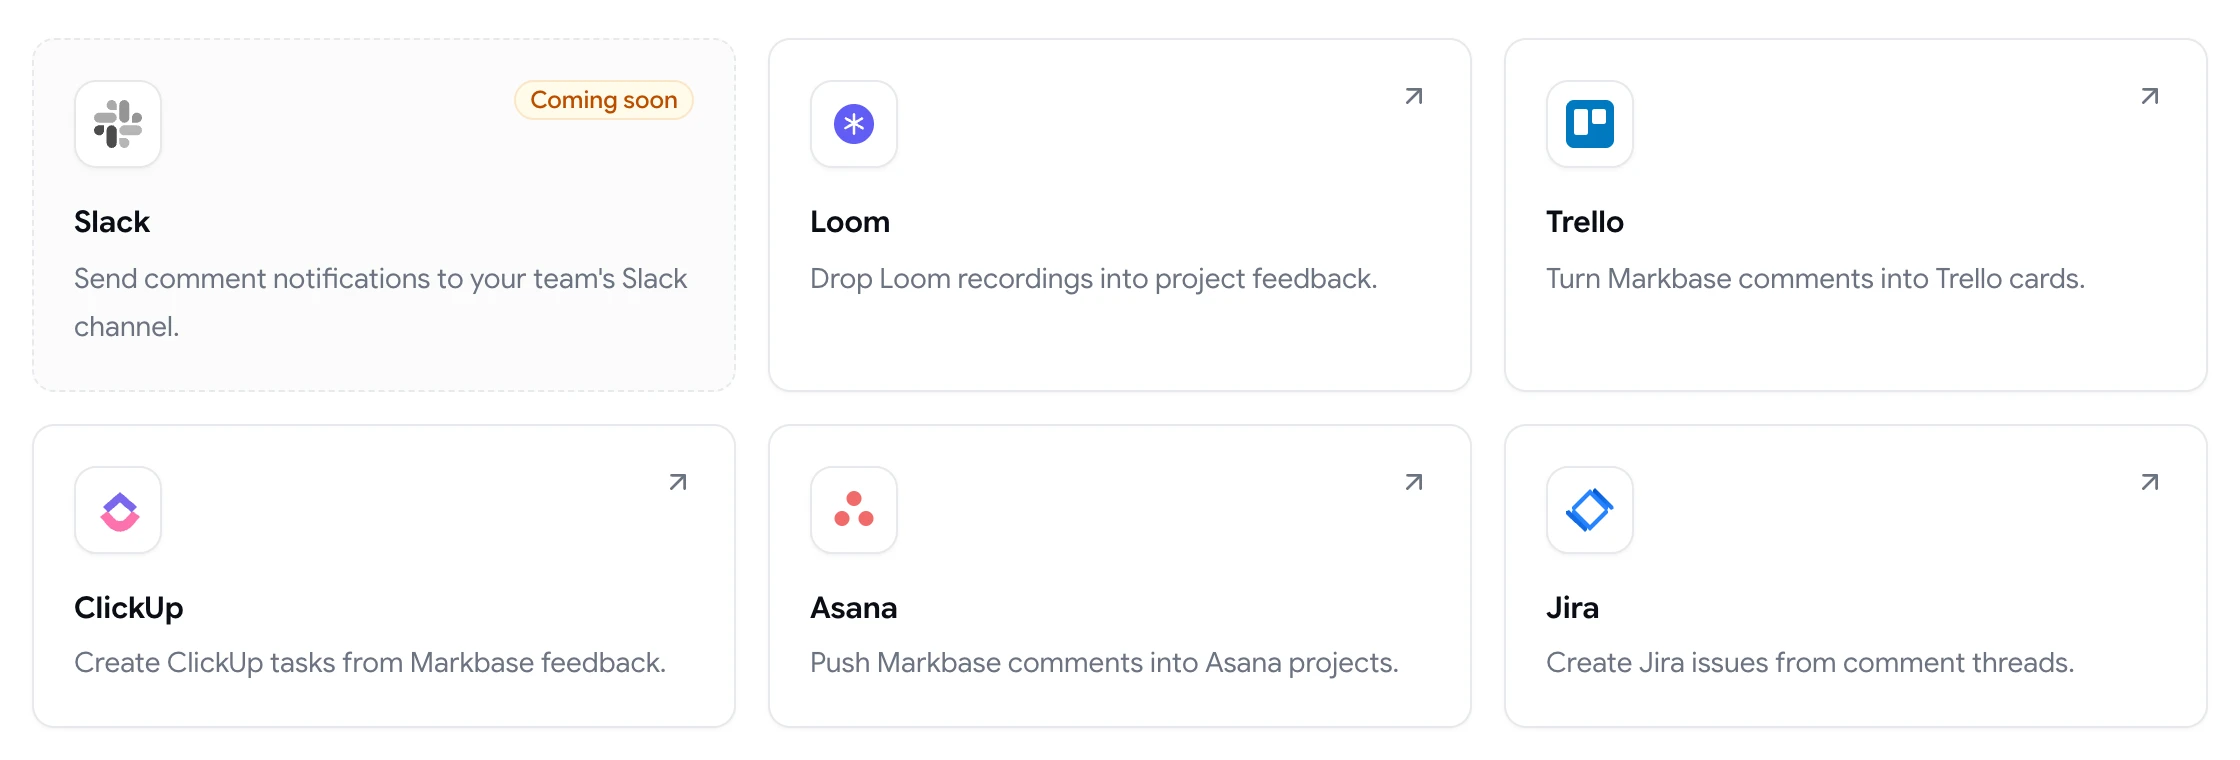
ClientTweak integrations page listing Loom, Trello, ClickUp, Asana and Jira, with Slack coming soon

The context travels with the work

A issue that says “fix the button” isn't much use. Because every issue links back to the original comment, whoever picks it up can open the pin in one click and see the element, the screenshot of what the reviewer saw, their viewport size and the whole conversation.

That's especially useful for clients and stakeholders who will never log in to your task tracker. They keep commenting in ClientTweak, and your team keeps planning where it already works.

  • One click from the task to the pinned comment
  • Screenshot and viewport details stay in ClientTweak
  • Clients never need access to your task tracker
A comment thread with replies, pinned to a button on the page

What gets sent, and when

ClientTweak sends three kinds of comment events to Jira: a new comment, a comment being resolved, and a comment being deleted. Each one creates its own issue, labelled with what happened, so your project keeps a trail of the feedback lifecycle.

Deliveries happen in the background. If Jira is temporarily unavailable or rate-limits the request, ClientTweak retries with increasing delays. Disconnecting stops new deliveries; issues that were already created stay in Jira.

  • New comments, resolutions and deletions are sent
  • Replies stay in the ClientTweak thread
  • Failed deliveries are retried automatically
  • Existing issues stay put if you disconnect
ClientTweak review screen: a client's homepage with numbered comment pins and the comment list beside it
How it works

Connect Jira in a minute

  1. 1

    Open Integrations

    In your ClientTweak workspace, go to Integrations and choose Jira.

  2. 2

    Connect

    Click Connect and approve access through Atlassian's OAuth sign-in.

  3. 3

    Pick a project

    Choose the Jira project where new issues should be created.

  4. 4

    Start reviewing

    New comments now arrive in Jira as issues, with a link back to the pin.

FAQ

Frequently asked questions

How do I connect ClientTweak to Jira?

Open Integrations in your ClientTweak workspace, choose Jira and click Connect. Approve access through Atlassian's OAuth sign-in, then pick the project where issues should be created.

What information is included in each Jira issue?

The comment text, the author, its priority and status, the page URL, the project name and URL, and a permalink that opens the comment in ClientTweak.

Do replies create new issues?

No. Only new top-level comments, resolutions and deletions are sent. Replies stay in the comment thread in ClientTweak, which the issue links back to.

What happens in Jira when I resolve a comment?

ClientTweak sends the resolution to Jira as a new issue marked as a resolved comment, so you have a record of it. It doesn't edit or close the original issue.

Which ClientTweak plans include the Jira integration?

All of them. Every ClientTweak plan — monthly, yearly and lifetime — includes every integration.

Does ClientTweak work with Jira Server or Data Center?

The integration connects to Jira Cloud through Atlassian's OAuth sign-in. Self-hosted Jira Server and Data Center aren't supported.

Can I disconnect Jira later?

Yes. Disconnect from the Integrations page at any time. New deliveries stop, and issues that were already created stay in Jira.

Get started

Send your next review straight to Jira.

Clients comment on the page. Your team gets issues with a link back to every pin.

  • Unlimited guest reviewers
  • Nothing to install
  • One flat price